Introduction
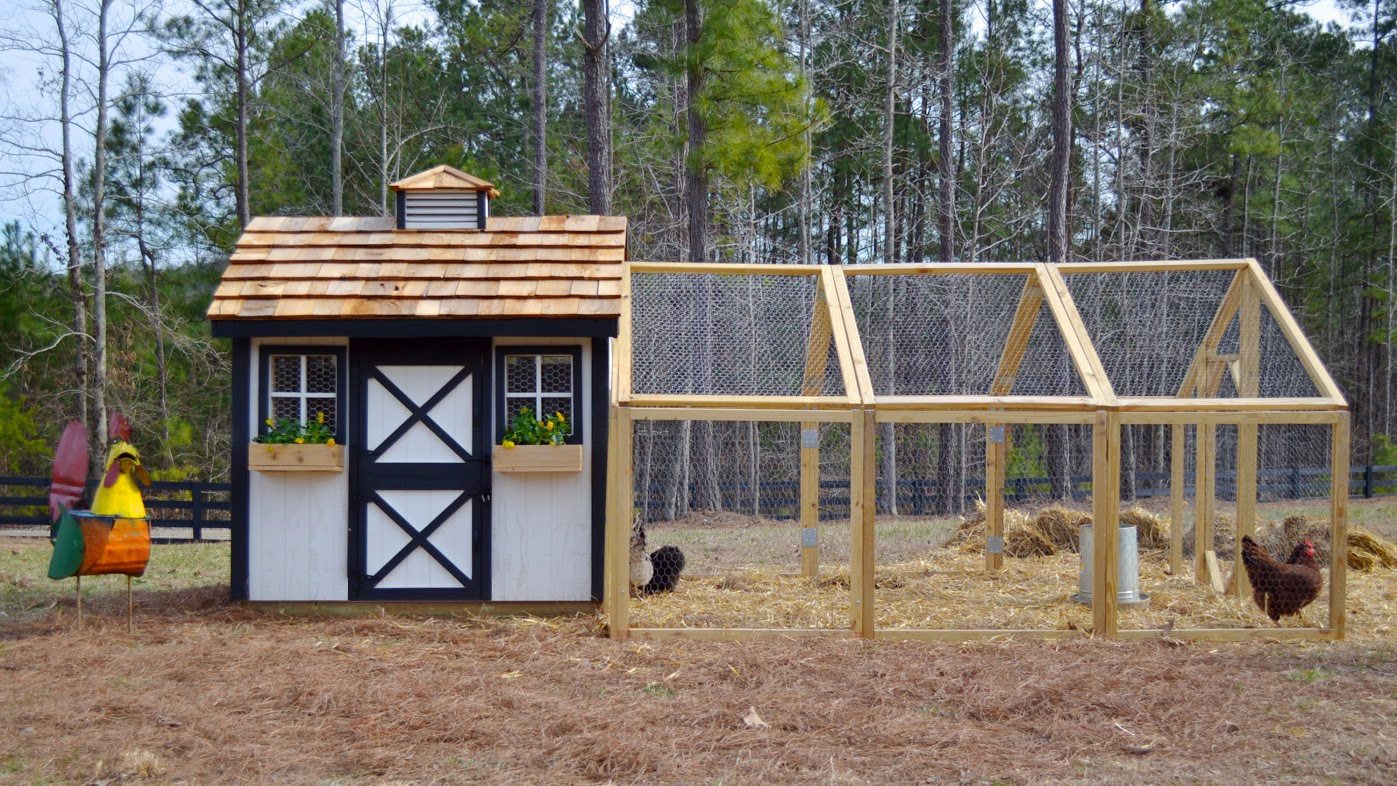
Raising chickens in your backyard can be a rewarding and fulfilling experience. Not only do you get fresh, organic eggs every day, but you also get to learn about farm life and animal care. One of the most important aspects of raising chickens is providing them with a safe and comfortable living environment. If you're a beginner looking for a simple and affordable chicken coop solution, building chicken coop boxes is an excellent option. In this article, we will guide you through the process of making your own chicken coop boxes.
Requirements
Before we start building, here are the materials and tools you will need:
- Wooden planks (2x4s, 2x2s, or 1x4s)
- Wood screws
- Wire mesh
- Hinges
- Latches
- Saw
- Drill and drill bits
- Staple gun
- Pliers
- Measuring tape
- Pencil
Step-by-Step Guide
Step 1: Design
The first step is to determine the design of your chicken coop boxes. There are several factors to consider when designing your coop, such as the number of chickens you plan to keep, the size of your backyard, and your budget. Here are some tips to help you get started:
- Decide on the size of your coop. A good rule of thumb is to allow at least 2-4 square feet of space per chicken.
- Choose a location that is well-drained, shaded, and protected from predators.
- Sketch a rough plan of your coop design on paper or a digital program.
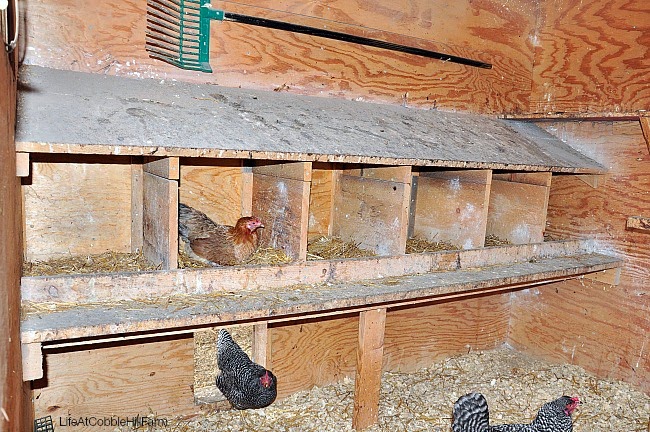
- Incorporate features such as nesting boxes, perches, and ramps.
Step 2: Cut the Wood
Once you have finalized your design, you can start cutting the wood according to your measurements. Remember to wear safety goggles and a dust mask when cutting the wood. You will need to cut the following pieces:
- Four corner posts (2x4s)
- Two long sides (1x4s)
- Two short sides (1x4s)
- One bottom (1x4s)
- One top (1x4s)
- One door (1x4s)
Step 3: Assemble the Frame
With the wood pieces cut, you can now assemble the frame. Follow these steps:
- Lay the bottom piece on a flat surface and attach the corner posts to each corner using wood screws.
- Attach the long sides to the corner posts using wood screws.
- Attach the short sides to the corner posts using wood screws.
- Attach the top piece to the corner posts using wood screws.
- Cut the wire mesh to fit the opening of the door and staple it onto the door frame.
Step 4: Add the Door
To add the door, follow these steps:
- Attach hinges to the side of the coop where you want the door to be.
- Attach hinges to the side of the door that will be attached to the coop.
- Install a latch on the door to keep it closed.
Step 5: Finishing Touches
Finally, you can add some finishing touches to make your chicken coop boxes more comfortable and secure for your chickens. Here are some ideas:
- Add a perch inside the coop for the chickens to roost on.
- Install some nesting boxes for the chickens to lay their eggs in.
- Cover the wire mesh with a tarp or plastic sheet to protect the chickens from rain and wind.
- Install a predator-proof barrier, such as a fence or netting, around the coop to keep unwanted visitors out.
Conclusion
Building chicken coop boxes is a simple and cost-effective way to provide your chickens with a secure and comfortable space to live in. With a little bit of woodworking skills and some basic tools, you can customize your coop to fit your specific needs and preferences. By following the steps in this guide, you will be well on your way to enjoying fresh eggs from your own backyard chickens. Happy building!


.JPG)


Comments
Post a Comment