Introduction
Are you considering raising chickens in your backyard? Building a chicken coop is the first step you need to take. Not only will a well-built coop provide shelter for your feathered friends, but it will also ensure their safety and comfort. In this comprehensive guide, we will walk you through the process of building a chicken coop from scratch. Let's get started!
Step 1: Planning and Design
Before you grab your tools and start building, it's important to have a solid plan in place. Determine how many chickens you plan to keep and consider the available space in your backyard. Sketch out a design or look for ready-made chicken coop plans that suit your needs. This will help you visualize the final product and ensure you have all the necessary materials.

Step 2: Choosing the Right Location
The location of your chicken coop is crucial for the health and safety of your chickens. Look for an area that provides ample sunlight, good drainage, and protection from extreme weather conditions. A flat and level spot is ideal to prevent waterlogging and ensure the stability of the coop. Consider proximity to your house for easy access and monitoring.

Step 3: Gathering Materials and Tools
Once you have a design and location in mind, it's time to gather the necessary materials and tools. You will need wood, screws, nails, wire mesh, roofing materials, and various hardware items. Invest in high-quality materials that can withstand the elements and protect your chickens from predators.
Step 4: Building the Structure
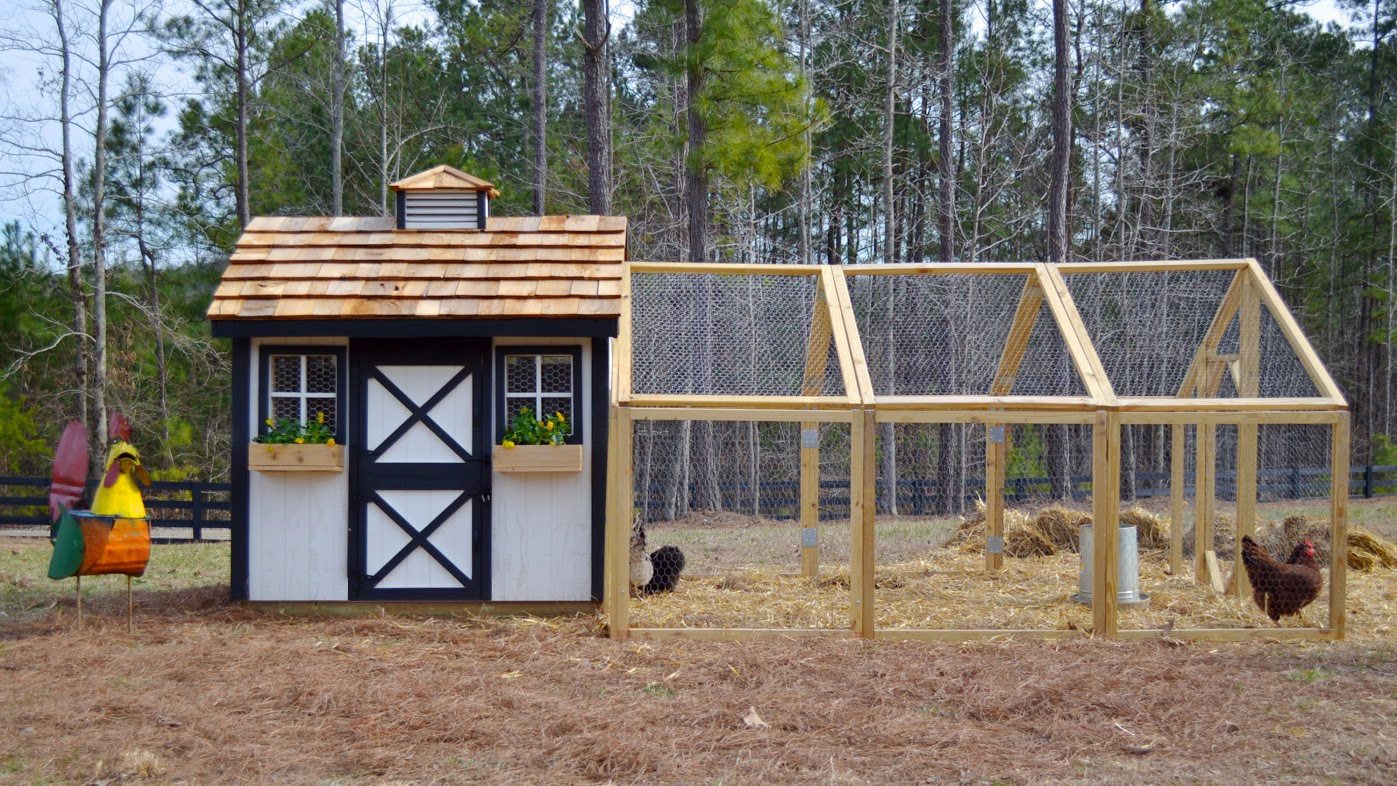
Begin the construction process by building the frame of the coop. Cut the wood according to your measurements and assemble the walls, floor, and roof. Make sure to create proper ventilation holes to prevent the buildup of moisture and install windows for natural light. Secure the structure firmly to the ground to withstand strong winds.
Step 5: Adding Nesting Boxes and Perches
To create a comfortable environment for your hens, add nesting boxes and perches inside the coop. Nesting boxes should be elevated from the ground and lined with straw or wood shavings for egg-laying. Install perches at different heights to mimic their natural roosting spots. These additions will ensure your chickens have a cozy place to rest and lay eggs.
Step 6: Installing Wire Mesh and Doors
Secure the coop by installing wire mesh around the sides and bottom. This will protect your chickens from predators while still allowing fresh air and sunlight. Attach a sturdy door with latches to keep your birds safe at night. Make sure there are no gaps or openings where predators can enter, as they can be incredibly resourceful!

Step 7: Adding Finishing Touches
The final step in building your chicken coop is to add some finishing touches. Apply a weatherproof sealant to protect the wood from moisture and rot. If desired, paint the coop in vibrant colors that complement your backyard. Consider adding a waterer and feeder inside for your chickens' convenience. Get creative and make it a beautiful addition to your outdoor space!
Conclusion
Building a chicken coop may seem like a daunting task, but with proper planning and guidance, you'll be able to provide a safe and comfortable home for your feathered friends. Remember to prioritize the health and safety of your chickens throughout the construction process. We hope this ultimate guide has provided you with valuable insights on building a chicken coop. Get ready to enjoy the rewards of fresh eggs and the joy of raising backyard chickens!

Comments
Post a Comment