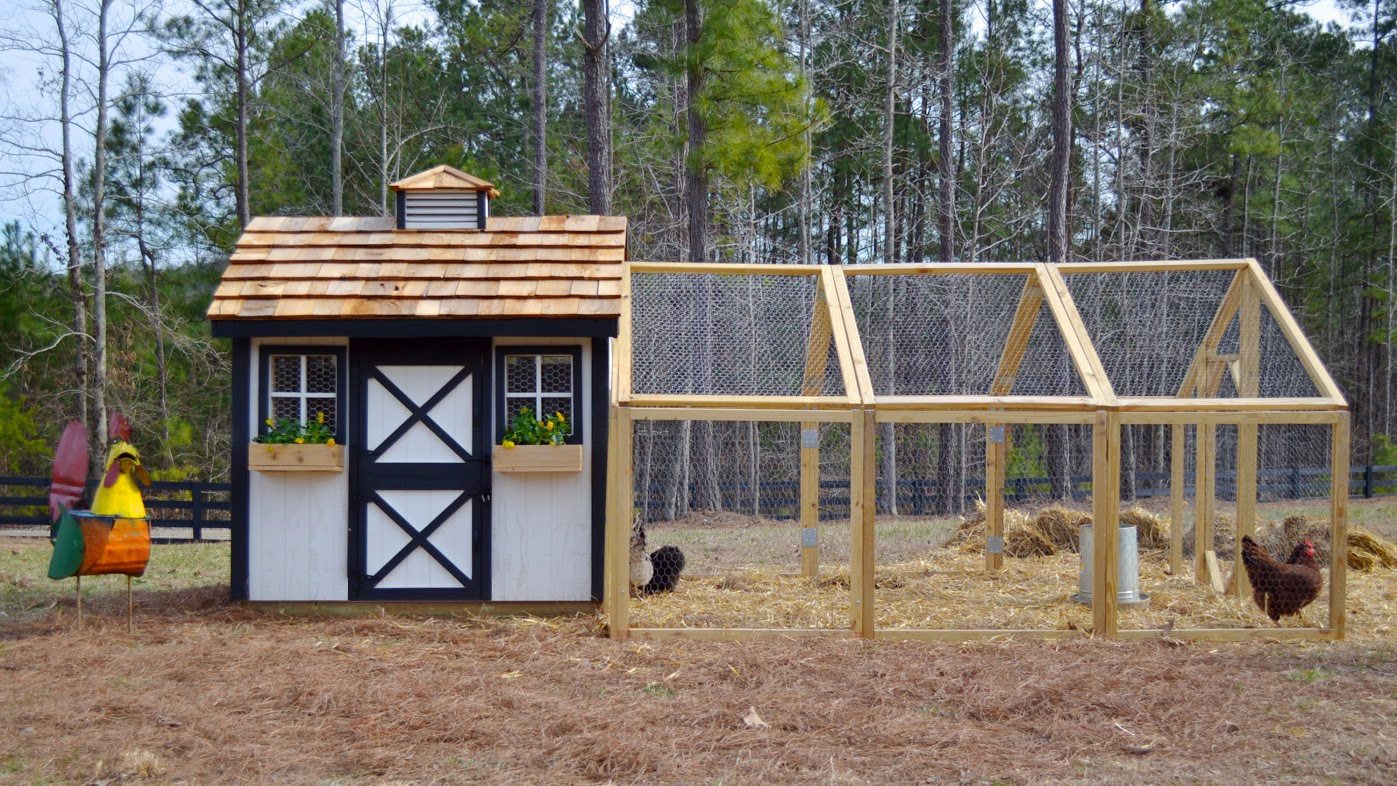
Why Build Your Own Chicken Coop?
Raising chickens in your backyard is becoming a popular pastime for many people. Not only do chickens provide fresh eggs and meat, but they also offer a unique pet experience. However, one of the first steps in starting your own backyard flock is building a coop for your birds. While you could purchase a pre-made coop, building a DIY chicken coop can save you money and give you the satisfaction of creating something on your own. In this tutorial, we'll show you how to build your own chicken coop from start to finish.
Step 1: Planning Your Chicken Coop
Before you begin building your coop, you'll need to plan out a few important details. First, determine how many chickens you plan on keeping. You'll need roughly 3-4 square feet of space per bird inside the coop. Next, choose a location for your coop that is shady, well-draining, and protected from predators. Finally, decide on the overall design of your coop. There are many different styles and sizes of coops to choose from, so it's important to find one that works for your specific needs.
Step 2: Materials and Tools
Once you have your plan in place, it's time to gather your materials and tools. You'll need basic woodworking tools like a saw, drill, and hammer, as well as materials like lumber, screws, and chicken wire. Here's a list of everything you'll need:
- Lumber (2x4s, 2x2s, and 1x4s)
- Screws
- Chicken Wire
- Nails
- Hardware Cloth
- Roofing Materials
- Hinges and Latches
- Nesting Boxes
- Feeders and Waterers
Step 3: Building the Coop
Now that you have your materials and tools, it's time to start building your coop! We recommend breaking the process down into a few different stages: framing, roofing, walls, and doors. Here's a more detailed breakdown of each step:
Framing
Start by cutting your lumber to size to create the frame for your coop. You'll need to create a base out of 2x4s, and then build up from there to create the walls. Make sure everything is level and secure before moving on to the next step.

Roofing
Once your frame is complete, it's time to add the roof. We recommend using metal roofing, as it is durable and weather-resistant. Make sure to attach the roof securely to prevent leaks!

Walls
With the roof in place, it's time to add the walls. Use your chicken wire and hardware cloth to create a secure enclosure for your birds. Make sure to leave enough space for windows and ventilation. You can also add nesting boxes and perches inside the coop.

Doors
Finally, add doors to your coop for easy access to your birds and their eggs. We recommend using hinges and latches to keep the doors securely closed. You can also add a ramp for the chickens to use to go in and out of the coop.

Step 4: Finishing Touches
With the main construction of your coop complete, it's time to add some finishing touches. Give your coop a coat of paint or stain to protect it from the elements. You can also add some landscaping around the coop to make it blend in with your backyard. Finally, add some feeders and waterers inside the coop for your birds to use.
Conclusion
Building your own chicken coop is a great way to start your backyard chicken flock. While the process may seem daunting at first, with some basic woodworking skills and some planning, anyone can build their own coop. We hope this tutorial has been helpful in getting you started on your own chicken coop-building journey!
Comments
Post a Comment