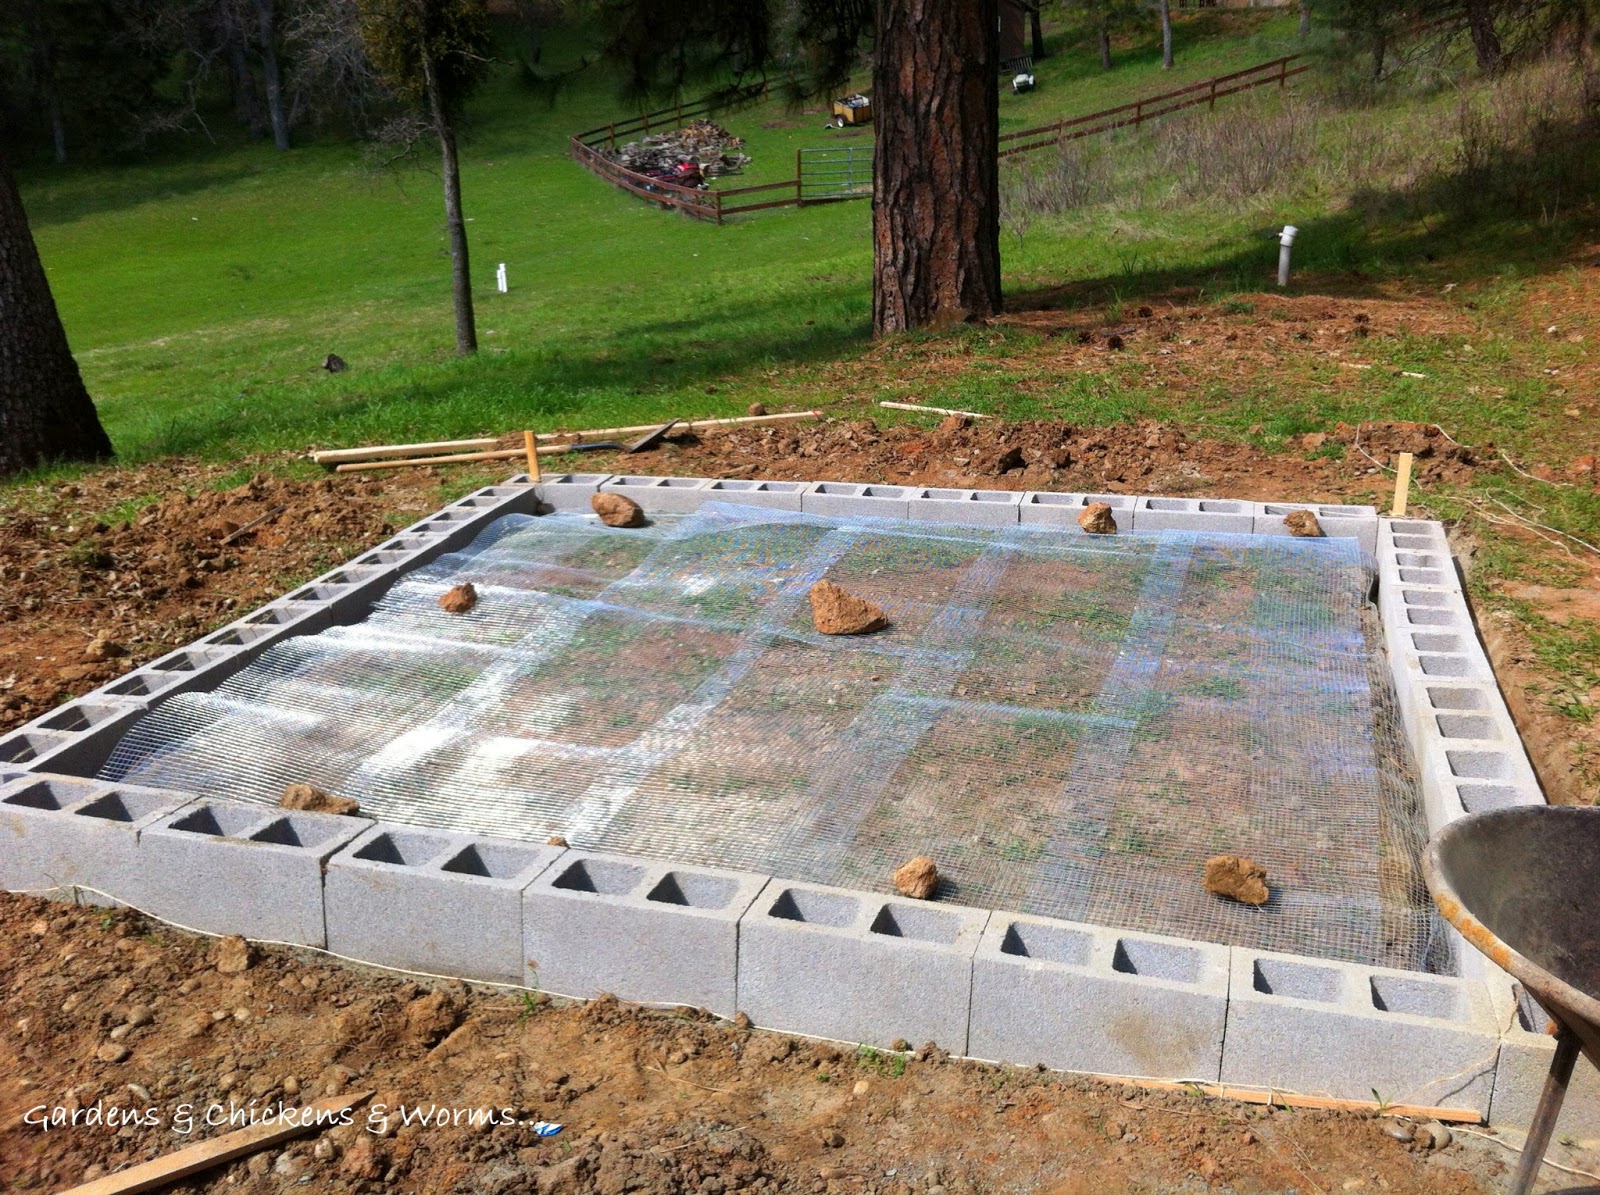
Why Choose Concrete Flooring for Your Chicken Coop Run?
If you own backyard chickens, you probably already know that keeping them safe and healthy is essential. One component of their enclosure that often goes overlooked is the chicken coop run flooring. While some chicken owners opt for a natural ground covering, such as grass, dirt, or wood chips, these materials don't provide a completely level or sealed surface, which can lead to several problems.
Concrete flooring is an excellent option for chicken coop runs because it's safe, durable, and easy to clean. By building a concrete floor for your chicken run, you can prevent predators from digging under the wall, reduce the risk of injury and disease, and keep your flock's living environment more hygienic. Plus, concrete can withstand harsh weather conditions, so it'll last longer than organic material.
What You'll Need
Before you begin building your chicken coop run with concrete flooring, you'll need to gather a few supplies. Here's what you'll need:
- Measuring tape
- Wheelbarrow
- Shovel
- Tamper
- Gravel
- Concrete mix
- Water
- Trowel
- Lumber
- Screws
Step-by-Step Guide to Building a Concrete Chicken Coop Run
Step 1: Measure and Prepare the Area
The first step in building a concrete chicken coop run is to measure the area where the run will be and prepare the ground accordingly. Use a measuring tape to determine the dimensions of the space and then clear any debris or soil. Ensure that the ground is level and compacted.
Step 2: Create a Gravel Base
After you've leveled and compacted the ground, you'll need to add a layer of gravel. This layer should be about 4 inches thick and should be spread out evenly. Use a tamper to compact the gravel and ensure a solid base.
Step 3: Mix and Pour the Concrete
Once you've created the gravel bed, it's time to mix and pour the concrete. In a wheelbarrow, combine the concrete mix and water according to the instructions on the bag. Mix until the consistency is smooth and pourable.
Starting at one corner, pour the concrete onto the gravel base and spread it out evenly with a trowel. Continue pouring and spreading until the entire area is covered with a smooth, level surface. Use a trowel to smooth the top surface of the concrete.
Step 4: Allow the Concrete to Cure
After you've poured the concrete, you'll need to allow it to cure for at least 24 hours. During this time, it's important to keep the concrete moist by spraying it with water periodically. This will prevent the surface from cracking or drying out too quickly.
Step 5: Build the Chicken Coop Run Walls
Once the concrete has cured, it's time to build the walls of the chicken coop run. Use lumber and screws to create a frame that's sturdy and safe for your chickens. Remember to add any doors or windows you need for easy access, cleaning, and ventilation.
Step 6: Add the Final Touches
With the walls up and secure, it's time to add any final touches to your chicken coop run. This might include adding a roof, installing nesting boxes, or placing food and water containers inside the run for easy access.
Conclusion
Building a chicken coop run with concrete flooring is a great way to provide your feathered friends with a clean, safe space to live and play. With these tips and instructions, you'll be able to build your concrete chicken run from scratch and enjoy a happy and healthy flock for years to come. Happy building!


Comments
Post a Comment