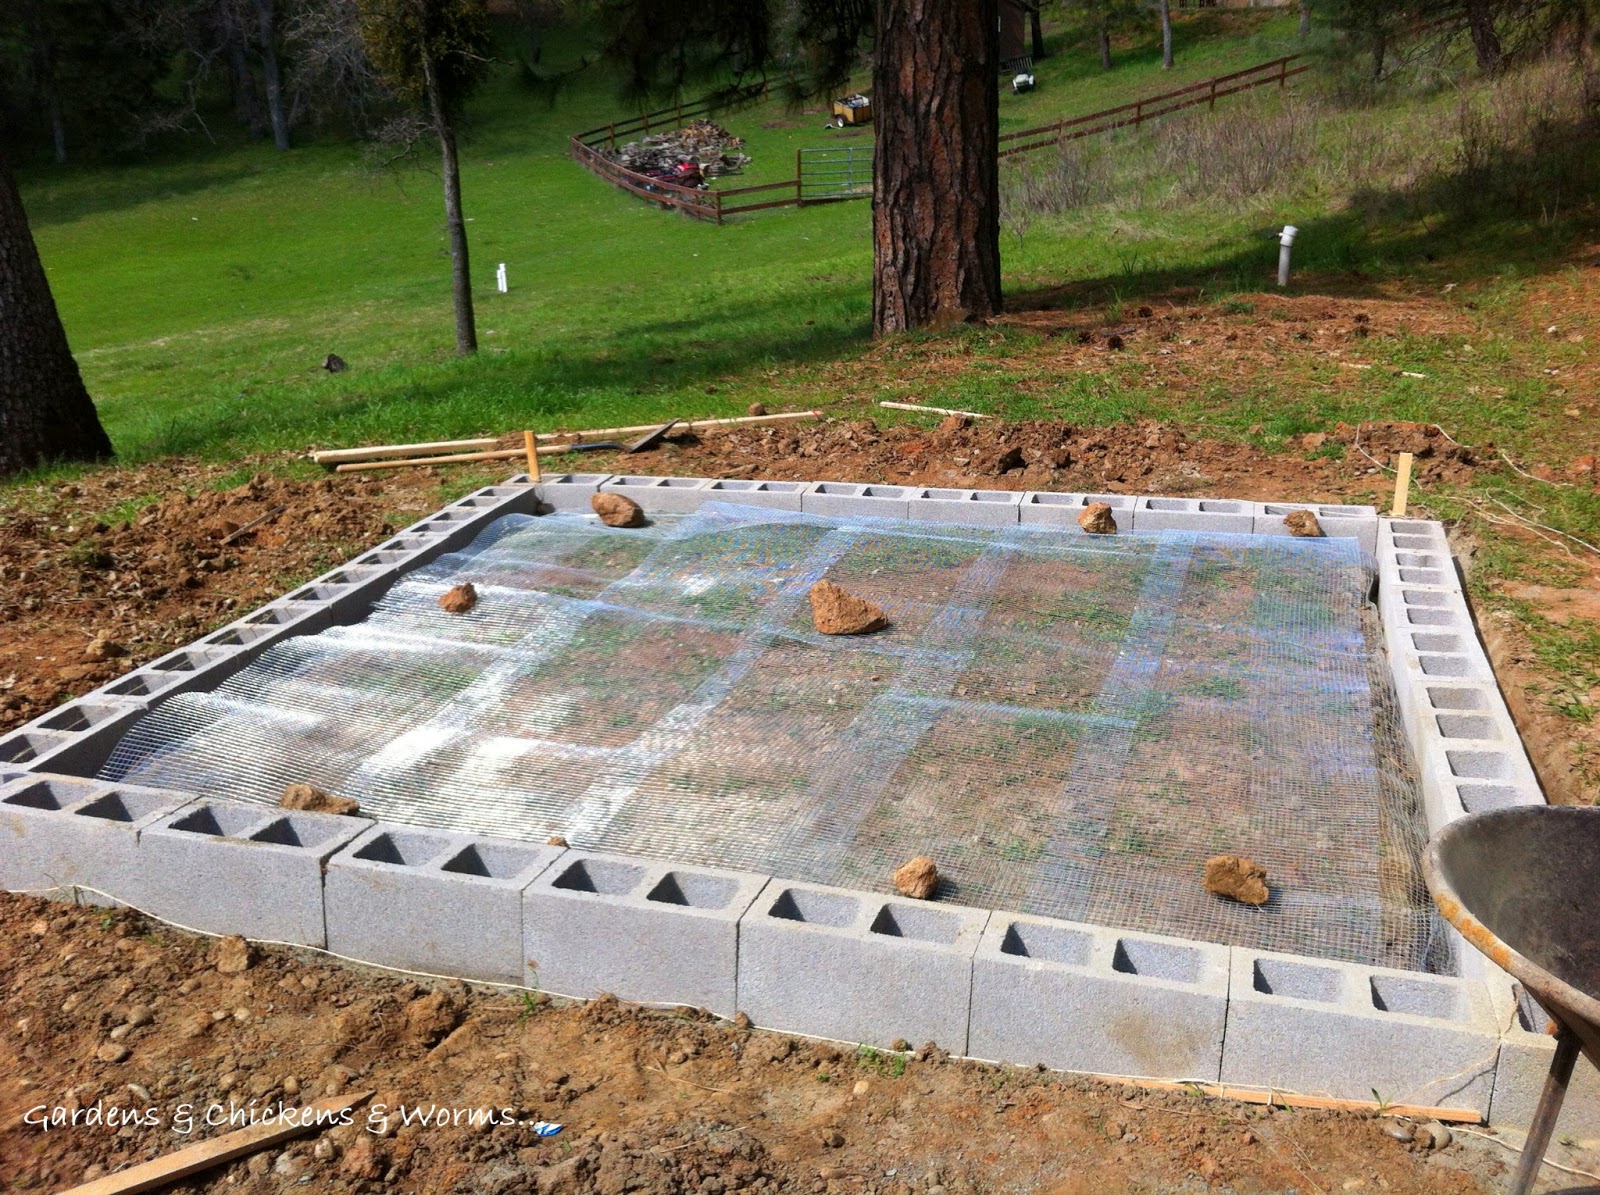
The Ultimate Guide to Installing a Wooden Floor in Your Chicken Coop

If you're a proud chicken owner who wants the best for your feathered friends, installing a wooden floor in their coop is a fantastic idea. Not only does it enhance the overall appearance of the coop, but it also provides numerous benefits for both you and your chickens. In this comprehensive guide, we will walk you through the entire process of installing a wooden floor in your chicken coop.
Why Choose a Wooden Floor for Your Chicken Coop?
A wooden floor offers several advantages that make it an excellent choice for chicken coops:
- 1. Durability: A properly installed and well-maintained wooden floor can last for years, withstanding the constant pecking, scratching, and droppings of chickens.
- 2. Insulation: Wood provides better insulation than other flooring materials, keeping the coop warmer in winter and cooler in summer.
- 3. Comfort: A wooden floor offers a comfortable surface for your chickens to walk and perch on, reducing the strain on their feet and legs.
- 4. Easy to Clean: Wood is relatively easy to clean, enabling you to maintain a hygienic environment for your chickens with minimal effort.
- 5. Aesthetics: Let's not forget the visual appeal of a wooden floor, which can transform your chicken coop into a charming space in your backyard.
Step-by-Step Guide to Installing a Wooden Floor
1. Clear and Level the Coop Area
Start by emptying the chicken coop and removing any existing flooring or debris. Once the area is clear, level the ground to ensure a solid foundation for your wooden floor.

2. Choose the Right Wooden Boards
Select high-quality plywood or solid wooden boards for your chicken coop floor. Ensure they are treated to resist moisture and rot, as chicken coops can get damp.

3. Measure and Cut the Boards
Measure the dimensions of your chicken coop and cut the wooden boards accordingly. Leave a small gap between each board, allowing for expansion and contraction due to temperature and humidity changes.

4. Install the Wooden Floor
Begin by laying the first board along one edge of the coop, ensuring it is level. Use screws or nails to secure it to the coop's frame. Continue this process, adding more boards until the entire floor is covered.

5. Seal and Finish the Floor
To protect the wood from moisture and make it easier to clean, apply a sealant or wood finish to the entire floor surface. This step will enhance the longevity of your chicken coop floor.

6. Allow Time to Dry
Give the sealant or wood finish enough time to dry completely before reintroducing your chickens into the coop. This waiting period ensures that the floor is safe and ready for use.

Maintenance Tips for a Wooden Floor in Your Chicken Coop
To keep your chicken coop floor in optimal condition, follow these maintenance tips:
- 1. Regularly sweep or vacuum the floor to remove dirt, feathers, and other particles.
- 2. Use a mild, chicken-safe disinfectant to clean the floor periodically.
- 3. Check for any signs of damage or wear and repair or replace the affected boards promptly.
- 4. Avoid using harsh chemicals or abrasive cleaning tools that can damage the sealant or finish.
- 5. Apply additional coats of sealant or wood finish as recommended by the manufacturer to maintain protection against moisture.

Conclusion
Installing a wooden floor in your chicken coop is a worthwhile investment that brings numerous benefits. Not only does it enhance the aesthetics of your coop, but it also provides durability, insulation, and comfort for your chickens. By following our step-by-step guide and implementing proper maintenance, you'll have a beautiful wooden floor that will stand the test of time. Get ready to create a cozy and inviting space for both you and your beloved chickens!


Comments
Post a Comment